Brave is an open-source web browser that prioritizes privacy and speed, offering users a unique browsing experience by blocking ads and trackers by default. Installing Brave on Ubuntu via the terminal is a quick and straightforward process, and it allows you to enjoy its enhanced security features and performance benefits. Whether you’re new to Ubuntu or an experienced user, this guide will walk you through the necessary steps to install Brave using the terminal. The process involves adding the official Brave repository to your system, updating your package list, and installing Brave in just a few commands. By the end of this guide, you’ll be able to enjoy browsing with Brave on your Ubuntu machine.
Prerequisites for Installation
Before you begin the installation of Brave on your Ubuntu system, there are a few prerequisites to ensure a smooth process. You need to have administrative privileges on your system as well as an active internet connection. It’s also essential to have your system updated to the latest available version of Ubuntu. Updating your system ensures compatibility with the latest Brave browser version and helps avoid potential issues. Additionally, make sure that you have the curl command installed, as it’s used to download files from the internet during the installation process.
Adding the Brave Repository
The first step in installing Brave is adding the official Brave repository to your Ubuntu system. By doing this, you’ll ensure that you are getting the most up-to-date and secure version of the browser directly from Brave’s maintainers. You can add the repository by executing a simple command in the terminal. Run the following command to add the repository: sudo apt install apt-transport-https curl. This command installs the necessary tools and allows you to securely download Brave from its repository.
Importing the Brave GPG Key
Next, you’ll need to import Brave’s GPG key to authenticate the software packages from their repository. This step ensures that the packages you download are legitimate and have not been tampered with. You can do this by running the command: curl -fsSL https://brave-browser-apt-release.s3.brave.com/brave-core.asc | sudo gpg --dearmor -o /usr/share/keyrings/brave-archive-keyring.gpg. This key is essential for the safe installation of Brave on your Ubuntu system. Once the key is imported, your system will be able to verify the authenticity of the Brave browser packages.
Updating the Package List
Once you’ve added the Brave repository and the GPG key, it’s time to update your package list. This step ensures that your system is aware of the new repository and its available packages. Run the following command to update the package list: sudo apt update. This command fetches the latest list of available software from all repositories configured on your system, including the Brave repository, so it can be installed correctly.
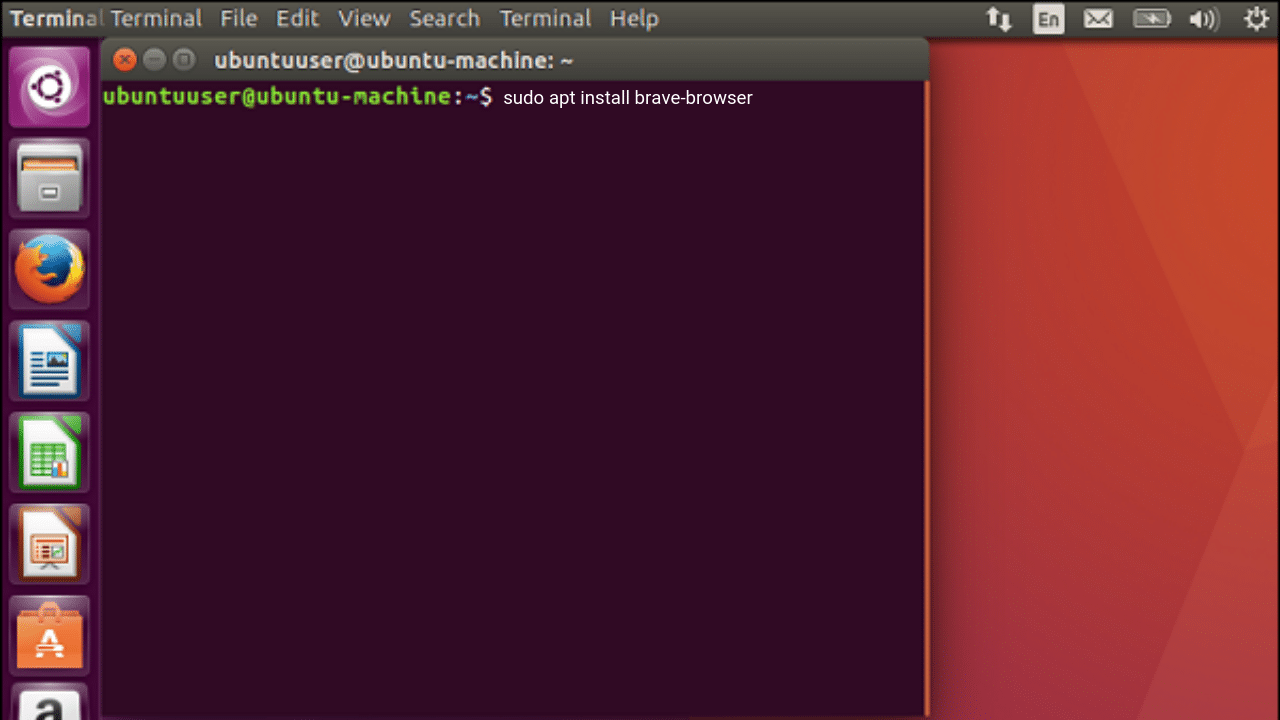
Installing Brave Browser
Now that everything is set up, it’s time to install Brave. Simply execute the following command in your terminal: sudo apt install brave-browser. This will download and install Brave directly from the official Brave repository. The installation process may take a few minutes depending on your internet speed and system performance. Once the installation is complete, you’ll have Brave installed and ready to use on your Ubuntu system.
Vote
Who is your all-time favorite president?
Verifying the Installation
After the installation process is finished, it’s important to verify that Brave was installed successfully. You can do this by checking the version of the browser installed. Open your terminal and type brave-browser --version. This command will display the installed version of Brave. If the command returns the correct version number, you can be confident that the installation was successful.
Launching Brave Browser
To launch Brave, you can either use the terminal or the graphical user interface (GUI). To launch Brave via the terminal, type brave-browser and hit enter. Alternatively, you can search for “Brave” in your application menu and click on the Brave icon to open the browser. Whether you prefer the terminal or GUI, launching Brave is just as simple.
Configuring Brave Settings
Upon launching Brave, it’s a good idea to configure the browser settings to fit your personal preferences. Brave’s default settings include blocking ads and trackers, but you can customize these features further. Head to the settings menu to adjust privacy, security, and browsing options. You can also choose your preferred search engine, manage cookies, and adjust your shields settings for better performance and privacy.
Advertisement
Troubleshooting Installation Issues
In some cases, you may encounter issues during installation. If Brave doesn’t install or launch correctly, there are a few things you can try. First, ensure that your system is updated and that all dependencies have been correctly installed. You can also try removing and reinstalling Brave by using the command sudo apt purge brave-browser followed by sudo apt install brave-browser. If issues persist, checking the Brave forums or Ubuntu community might provide additional solutions.
Keeping Brave Up to Date
Once you’ve installed Brave, it’s essential to keep it updated to ensure you always have the latest features and security patches. Updates for Brave will be handled automatically through Ubuntu’s package manager. However, you can manually check for updates at any time by running the command sudo apt update && sudo apt upgrade. Updating regularly is important for keeping your browser secure and running smoothly.
Key Steps for Brave Installation on Ubuntu
- Ensure your system is updated and has curl installed.
- Add Brave’s official repository to your system.
- Import the Brave GPG key for authentication.
- Update the package list to include Brave’s repository.
- Install Brave using the
sudo apt install brave-browsercommand. - Verify that Brave is installed by checking the version.
- Launch Brave and configure your settings for optimal use.
Watch Live Sports Now!
Dont miss a single moment of your favorite sports. Tune in to live matches, exclusive coverage, and expert analysis.
Start watching top-tier sports action now!
Watch NowAdditional Tips for Managing Brave on Ubuntu
- Keep your system and Brave browser updated regularly.
- Check Brave’s privacy settings and customize them according to your needs.
- Use Brave’s built-in features like ad-blocking for enhanced browsing speed.
- Regularly clear browsing data and cache to maintain browser performance.
- Enable Brave Rewards to earn cryptocurrency while browsing.
- Consider using Brave’s Tor integration for enhanced anonymity.
- Explore Brave’s Extensions page to find useful add-ons for your browsing experience.
Pro Tip: If you encounter installation issues, ensure that your system’s repository is properly synced by running sudo apt update before installing Brave.
| Step | Command | Purpose |
|---|---|---|
| Add Repository | sudo apt install apt-transport-https curl | Installs necessary tools for secure installation |
| Import GPG Key | curl -fsSL https://brave-browser-apt-release.s3.brave.com/brave-core.asc | sudo gpg –dearmor -o /usr/share/keyrings/brave-archive-keyring.gpg | Authenticates Brave packages |
| Install Brave | sudo apt install brave-browser | Installs the Brave browser |
“The web should be a space where privacy is respected, and Brave is here to make sure of that.”
By following these steps, you can quickly and easily install Brave on Ubuntu and enjoy a secure and fast browsing experience. Whether you’re concerned about privacy or simply want a browser that blocks ads and trackers by default, Brave is an excellent choice for Ubuntu users. Don’t forget to share this guide with your friends and fellow Ubuntu users to help them get started with Brave. Bookmark this page for future reference and stay up to date with the latest installation techniques. Enjoy safer, faster, and more private browsing with Brave on your Ubuntu system.