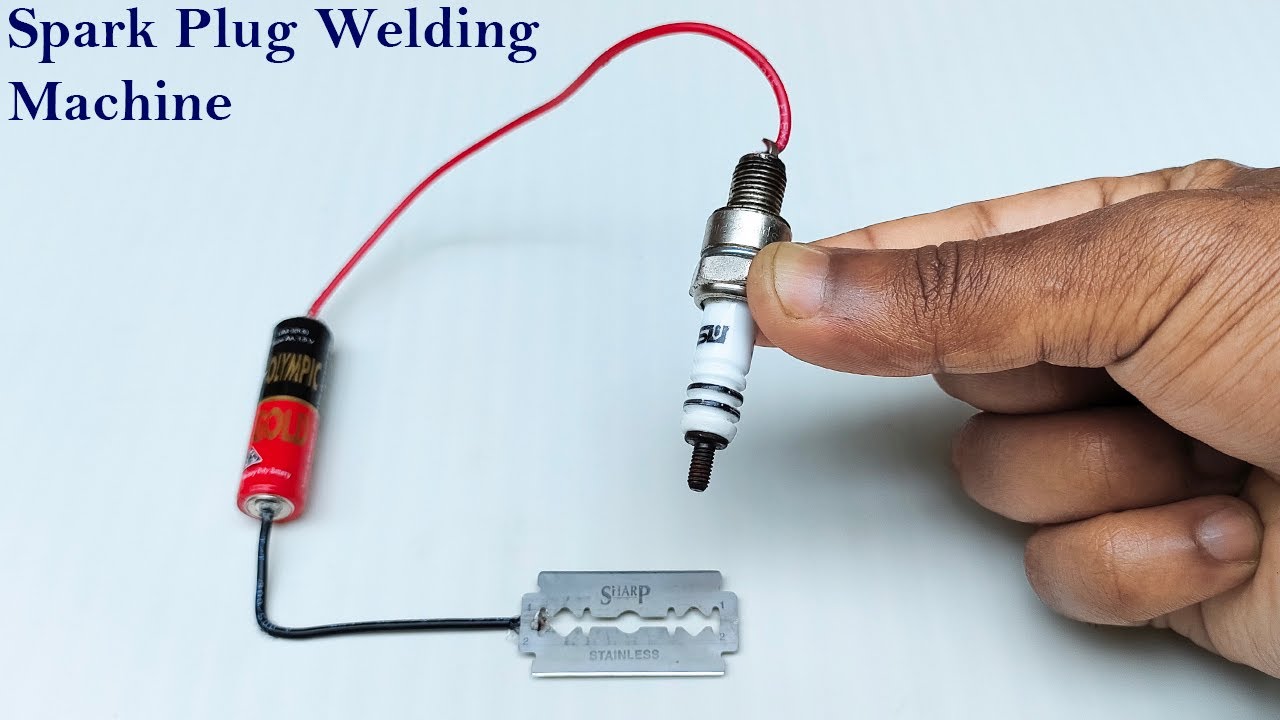
Creating a simple spark plug welding machine at home can be a fun and educational project for DIY enthusiasts. With just a few basic components and tools, you can build a functional machine capable of welding metal using spark plugs as an ignition source. This project not only teaches you about electrical circuits and welding principles but also allows you to repurpose items you may already have at home. Whether you’re looking to repair small metal objects or gain hands-on experience with welding, this machine can be an affordable and efficient solution. In this guide, we’ll walk you through the step-by-step process of assembling your own spark plug welding machine.
Understand the Basics of Welding
Before diving into building your machine, it’s important to understand the fundamentals of welding. Welding involves fusing two or more pieces of metal by applying heat, pressure, or both. The spark plug in your homemade welding machine will generate the necessary heat to melt the metal, allowing it to bond. Typically, welding machines use electricity to create the heat, but using a spark plug introduces a more accessible option for DIY builders. Understanding the heat transfer process is key to ensuring your machine works safely and effectively.
Gather Necessary Materials
To build your own spark plug welding machine, you’ll need several materials that are easily available. Key components include a spark plug, an old transformer, some copper wire, a welding rod, and a metal base for the machine. Make sure the spark plug you select is designed for high-voltage applications to ensure it can generate the required heat. Additionally, you’ll need insulated wiring to safely handle the current that will flow through the circuit. All the components are relatively inexpensive and can be found at hardware stores or repurposed from old electronic devices.
Safety First
When working with electricity and high temperatures, safety is always a top priority. Always wear protective gear such as gloves, goggles, and a welding helmet to safeguard yourself from sparks and potential electrical hazards. The transformer will convert standard voltage to a much higher one, which can be dangerous if mishandled. It’s important to work in a well-ventilated area, especially if you’re welding metal that might produce harmful fumes. Never forget to have a fire extinguisher nearby, as welding can ignite surrounding materials if proper precautions aren’t taken.
Wiring the Transformer
The next step is to wire the transformer to your spark plug. Start by connecting the high-voltage side of the transformer to the spark plug using insulated copper wires. Ensure that the connection is secure to prevent accidental disconnections while in use. Be sure to double-check your wiring to avoid creating short circuits, which could lead to equipment damage or injury. Proper insulation of wires is essential, as exposed metal can cause electrical shocks or short-circuits.
Attaching the Welding Rod
Once the transformer is properly connected to the spark plug, the next step is to attach the welding rod. The welding rod should be securely mounted to the metal base, allowing it to be used to apply heat directly to the metal you wish to weld. You can create a small clamp to hold the rod in place. Ensure the welding rod is conductive and capable of withstanding the heat generated by the spark plug. This setup will be used to melt the metal and create the bond between two pieces of metal.
Vote
Who is your all-time favorite president?
Mounting the Spark Plug
Mount the spark plug on the machine’s frame, ensuring that it is positioned correctly for maximum heat distribution. The spark plug should be placed so that the spark generated during operation will reach the metal pieces you are welding. Stabilizing the spark plug is essential to prevent any movement while welding, as this could affect the quality of the weld. You can use a sturdy metal frame or a vise to secure the spark plug in place. Keep in mind that the spark plug should not come into contact with any flammable materials during operation.
Testing the Machine
Once everything is securely connected, it’s time to test your spark plug welding machine. Turn on the transformer and make sure the spark plug generates a strong enough arc to melt the metal. It’s recommended to start with a small piece of scrap metal to see how the machine performs. If the weld isn’t strong enough, you may need to adjust the transformer’s settings or experiment with different spark plugs to find the right combination. Always observe the machine closely during the first test to ensure that everything is functioning properly.
Fine-tuning the Welding Process
After your initial test, you may need to fine-tune your machine for optimal performance. Adjusting the current or experimenting with different types of welding rods can improve the strength and quality of your welds. Using thicker metals will require more heat, so you may need to increase the voltage or use a larger spark plug to accommodate the thickness. Keep in mind that practice makes perfect, and it may take several attempts to achieve consistent results. Additionally, understanding the heat distribution and speed of welding will help you refine your technique over time.
Troubleshooting Common Issues
If your spark plug welding machine isn’t working as expected, there are a few common issues to check. First, ensure that the transformer is properly wired and supplying the correct voltage. Check the spark plug to see if it’s damaged or worn out, as this can prevent it from generating a strong enough spark. Loose connections can also cause the machine to malfunction, so inspect the wiring carefully. By systematically going through these steps, you’ll be able to identify and fix any issues that arise.
Exploring More Advanced Features
Once you have mastered the basics of welding with your homemade machine, you can consider upgrading it with more advanced features. Adding a cooling system to regulate the temperature of the spark plug or using a more sophisticated power supply can enhance your welding machine’s performance. Incorporating digital controls for better precision is another option if you want to take your DIY welding machine to the next level. As you gain more experience, experimenting with different configurations can open up a world of possibilities for DIY projects.
Tools and Materials for the Project
- Spark plug (high-voltage)
- Transformer (for voltage conversion)
- Copper wire (insulated)
- Welding rod
- Metal base/frame for mounting
- Protective gear (gloves, goggles, helmet)
- Power source (battery or electrical outlet)
Watch Live Sports Now!
Dont miss a single moment of your favorite sports. Tune in to live matches, exclusive coverage, and expert analysis.
Start watching top-tier sports action now!
Watch NowSteps for Assembling the Machine
- Wire the transformer to the spark plug securely.
- Attach the welding rod to the machine’s base.
- Mount the spark plug in a stable position.
- Test the machine on scrap metal to assess performance.
- Adjust the current and settings for optimal welding.
- Fine-tune the machine’s components for better functionality.
- Perform regular maintenance to keep the machine in good condition.
Pro Tip: Always wear safety gear, especially a welding helmet, to protect your eyes and face from sparks and UV radiation. Welding can produce intense light, and without the right protection, it can cause severe eye damage.
| Component | Function | Materials Needed |
|---|---|---|
| Spark Plug | Generates heat for welding | High-voltage spark plug |
| Transformer | Converts voltage for high heat | Old transformer or power supply |
| Welding Rod | Applies heat to fuse metal | Conductive welding rod |
“With the right tools and a little creativity, anyone can create a welding machine that gets the job done efficiently.”
Now that you know how to make your own spark plug welding machine, it’s time to get started. This project is a great way to learn more about electrical circuits and welding while creating something truly functional. Be sure to take your time during each step to ensure the machine works properly and safely. If you found this guide helpful, don’t forget to bookmark it for future reference, and share it with friends who might be interested in this DIY project. Whether you’re welding for fun or fixing metal objects at home, this machine can be a valuable addition to your toolkit.