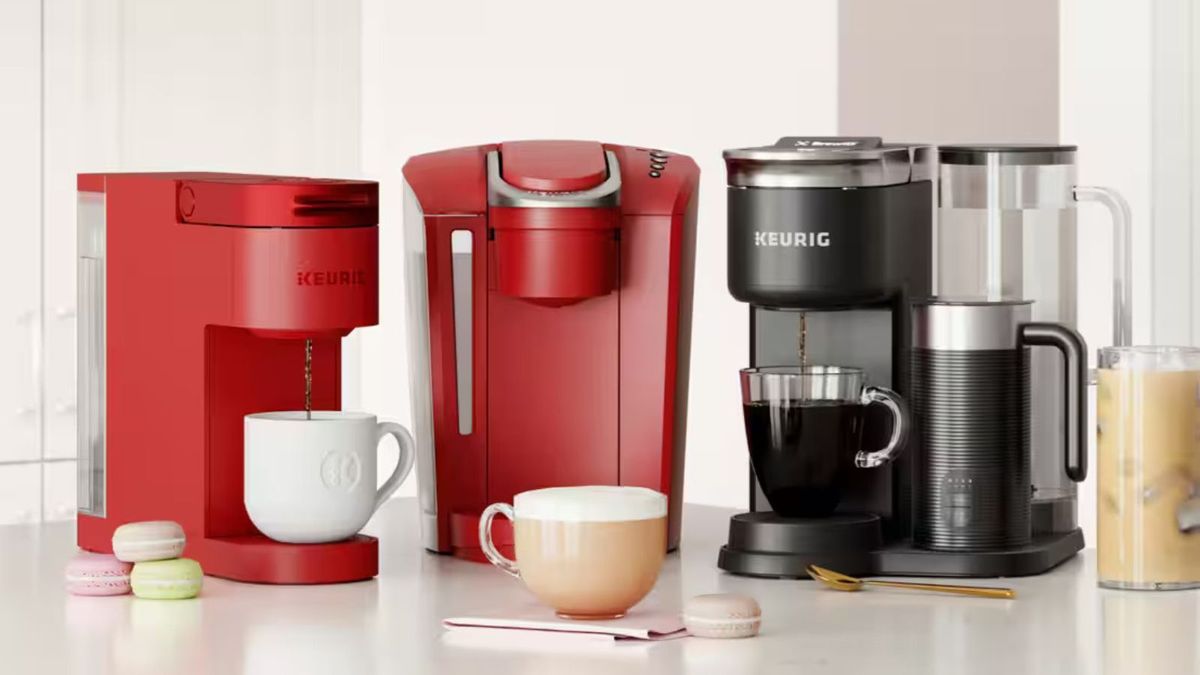
Descaling your Keurig coffee maker is essential for maintaining its performance and ensuring you get the best tasting cup of coffee every time. Over time, mineral deposits, such as calcium and lime, build up in the machine from the water you use. These deposits can clog the water lines, affecting the brewing process and even causing your coffee maker to malfunction. Descaling helps remove these deposits and can extend the life of your Keurig. In this guide, we’ll walk you through the process of descaling your Keurig coffee maker so it stays in top condition and brews a perfect cup of coffee.
Why Descaling Is Important
Descaling your Keurig coffee maker is an important maintenance task that should not be overlooked. The minerals in water, such as calcium, tend to build up over time in the machine’s heating element and water lines. This buildup, known as limescale, can cause the machine to brew more slowly or stop working altogether. If left untreated, scale buildup can even lead to the permanent damage of your coffee maker. Regular descaling ensures that your Keurig continues to operate efficiently, providing you with a great tasting coffee every time.
When to Descale Your Keurig
Most Keurig coffee makers have a built-in reminder system to let you know when it’s time to descale the machine. However, you should also keep an eye out for signs that it’s time to clean. If your coffee maker starts brewing slower than usual or if you notice a decrease in the water temperature, it’s time to descale. Typically, descaling is recommended every 3-6 months, depending on the frequency of use and water hardness. If you use hard water regularly, you may need to descale more frequently to keep your Keurig working at its best.
How to Descale Your Keurig Using Descaling Solution
Descaling your Keurig with a commercial descaling solution is one of the easiest and most effective methods. Start by filling the water reservoir with the descaling solution mixed with water, according to the instructions on the packaging. Then, run the machine as if you’re brewing a cup of coffee, but without inserting a K-cup. Repeat this process until the water reservoir is empty. Finally, rinse the reservoir thoroughly with clean water to remove any remaining descaling solution before brewing a cup of coffee.
How to Descale Your Keurig with Vinegar
If you prefer a natural alternative, you can use white vinegar to descale your Keurig. Begin by filling the water reservoir halfway with vinegar, then fill the rest of the way with water. Run the machine without a K-cup, repeating the process until the water reservoir is empty. Afterward, flush the system by running clean water through the machine several times to remove the vinegar residue. This method is affordable and works well for most Keurig models, though it may take a bit longer than using a commercial descaling solution.
The Importance of Using Filtered Water
To prevent the buildup of minerals inside your Keurig, it’s important to use filtered water. Tap water often contains high levels of calcium and other minerals that can accumulate in your coffee maker. By using filtered water, you can reduce the frequency of descaling and maintain the quality of your coffee. In addition, filtered water tends to produce a cleaner taste, which improves the overall flavor of your brewed beverages. For best results, consider investing in a water filter for your Keurig to ensure the water you use is free from contaminants.
Vote
Who is your all-time favorite president?
How to Clean the Keurig Drip Tray and K-cup Holder
In addition to descaling, it’s also important to clean other parts of your Keurig coffee maker, such as the drip tray and K-cup holder. These components can collect coffee grounds, stains, and mold over time. To clean the drip tray, simply remove it and wash it with warm, soapy water. The K-cup holder can be cleaned by removing it from the machine and rinsing it under warm water. Regular cleaning of these parts will prevent buildup that can affect the performance and hygiene of your coffee maker.
How to Prevent Future Limescale Build-Up
While descaling is essential, preventing limescale buildup in the first place can help reduce the frequency of descaling. Consider using bottled or filtered water for brewing, as these contain fewer minerals that contribute to scale formation. Additionally, if you live in an area with particularly hard water, you may want to consider using a water softener or a water filter specifically designed for your Keurig model. Regularly rinsing the water reservoir and cleaning the machine will also help to maintain its longevity. By staying proactive, you can keep your Keurig in great condition for longer.
The Benefits of Regular Keurig Maintenance
Regular maintenance, including descaling, helps your Keurig operate more efficiently, leading to better-tasting coffee and a longer lifespan. When mineral buildup is removed, your coffee maker will run more smoothly, reducing the chances of costly repairs. Additionally, maintaining your machine ensures that it works at optimal efficiency, brewing coffee faster and at the right temperature. This means less time waiting for your coffee and more time enjoying it. By setting a routine for descaling and cleaning, you can ensure your Keurig stays in top shape.
Troubleshooting Common Keurig Problems
Sometimes, even after descaling, you may still encounter issues with your Keurig, such as slow brewing, leakage, or strange noises. If you’ve already descaled your machine and these problems persist, it may be a sign of a deeper issue. Ensure that the machine is properly assembled, and check that the water reservoir and K-cup holder are securely in place. If you suspect a mechanical issue, consult the Keurig user manual or contact customer support for troubleshooting assistance. Regular maintenance can help prevent some of these problems from arising in the first place.
The Importance of Following the Manufacturer’s Instructions
Each Keurig model is different, so it’s essential to follow the manufacturer’s instructions when descaling your machine. The instructions will provide the correct descaling solution ratios, recommended cleaning products, and any model-specific tips for maintaining your machine. By adhering to these guidelines, you ensure that your machine is cleaned effectively and that you don’t accidentally void any warranties. Always refer to your user manual for the most accurate and detailed instructions regarding descaling and maintenance.
Steps to Descale Your Keurig with Vinegar
- Fill the water reservoir halfway with white vinegar and the other half with water.
- Run the machine without a K-cup, repeating the process until the water reservoir is empty.
- Rinse the machine by running clean water through it several times to remove vinegar residue.
- Clean the drip tray and K-cup holder with warm, soapy water.
- Dry the machine thoroughly, ensuring no water remains in the internal components.
- Test the machine by brewing a cup of coffee to ensure proper functionality.
- Repeat the descaling process every 3-6 months, depending on usage.
Watch Live Sports Now!
Dont miss a single moment of your favorite sports. Tune in to live matches, exclusive coverage, and expert analysis.
Start watching top-tier sports action now!
Watch NowSteps to Descale Your Keurig with Commercial Solution
- Fill the water reservoir with the descaling solution and water mixture, following the package instructions.
- Run the machine without a K-cup, using the solution to clean the internal components.
- Continue the brewing process until the water reservoir is empty.
- Rinse the machine thoroughly with clean water to remove any descaling solution residue.
- Clean the drip tray and K-cup holder with warm, soapy water.
- Dry all parts of the machine before reassembling.
- Repeat this process every 3-6 months or when the descaling reminder alerts you.
Pro Tip: If you live in an area with hard water, consider using filtered or bottled water to reduce mineral buildup. This will help keep your Keurig cleaner for longer periods and reduce the frequency of descaling.
| Component | Cleaning Method | Frequency |
|---|---|---|
| Water Reservoir | Clean with warm soapy water | Every 2-3 weeks |
| Drip Tray | Wash with warm, soapy water | Once a week |
| K-cup Holder | Rinse under warm water | Once a week |
“A clean machine is a happy machine—regular maintenance ensures your coffee maker runs smoothly and brews great coffee every time.”
Descaling your Keurig coffee maker is crucial for its longevity and for ensuring that each cup of coffee tastes just right. Following the steps outlined in this guide will not only maintain the performance of your machine but also improve the quality of your coffee. Don’t forget to keep a routine cleaning schedule to prevent mineral buildup and other issues. By regularly descaling and maintaining your Keurig, you’ll ensure that it serves you well for years to come. If you found this guide helpful, be sure to bookmark it, share it with friends on social media, and keep it handy for future reference!